Hints and Tips Page 11
Click on any of the thumbnails below for a more detailed photo
![]()
Hints and Tips Page 11
Click on any of the thumbnails
below for a more detailed photo
|
Tricks With Fiber Spacing
Material A common way to dress up your knife handle and to add a little color is to use fiber spacing material. This little tutorial will encourage you to try different ways to experiment with this material. |
|
|
|
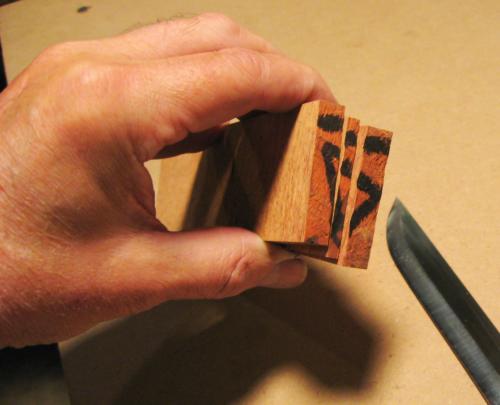
Fiber spacing material is a vulcanized product that is available in a few colors. It commonly comes in 5" x 10" sheets, .030 thick and can be cut with a utility knife. I've seen thicker sheets or pieces, but these don't seem to be as common. |
|
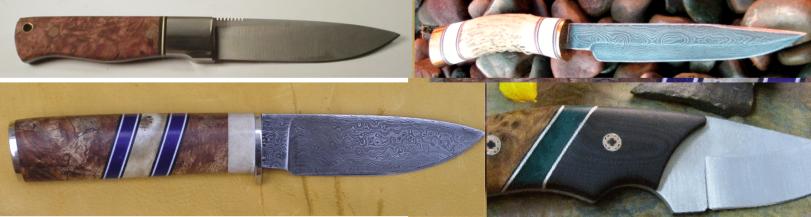
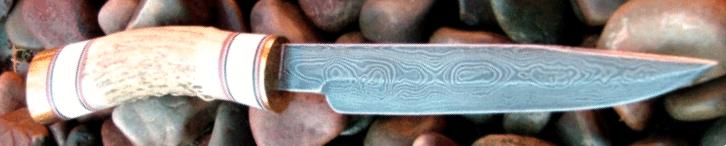
Fiber spacing material has traditionally been used to add visual interest when used as spacers or to add color contrast with spacers. I pulled a few pictures from the gallery to show you some common uses and to give you a few ideas. Click to see the pictures: Example 1 , Example 2 , Example 3 , Example 4 , Example 5 . |
|
|
Fiber spacing material can either be used singly to separate different handle materials or stacked. I guess there is really no reason why you couldn't build a whole handle out of stacked fiber. Hmmm. Might look like one of Ka-Bar's stacked leather washer handle bowies that worked so hard in WW2. |
|
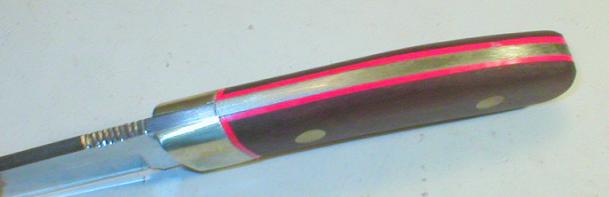
Fiber spacing material doesn't have to be limited to being at right angles to the tang or handle. Bob Loveless has been adding red spacers behind his handles for a long time to add visual interest. (This is my knife by the way, and my comments should not be construed as my trying to compare my efforts to those of a master like Bob.) |
|
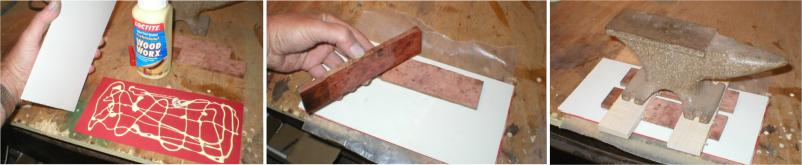
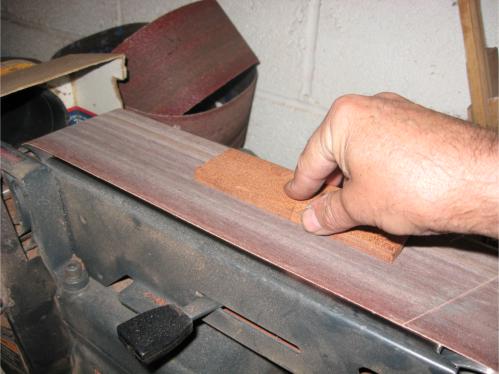
In addition to adding a touch of color, a fiber backing is very helpful in strengthening and re-enforcing irregular or soft woods, such as burls. The fiber backing will help prevent splitting the scales when you're peening the pins, something that seems to happen all too often. To me anyway. I use a good waterproof carpenters glue to glue the two fiber sheets together and a 30 minute epoxy to glue the scales to the fiber sheet. Use a heavy weight to hold them flat until the epoxy cures. |

|
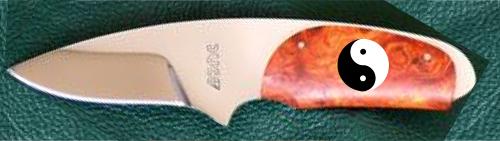
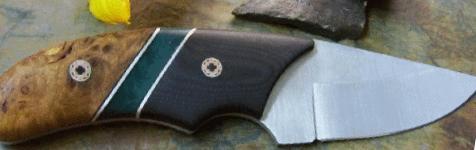
And here's what it looks like underneath a nice set of thuya burl scales. The contrast sets off the beautiful b=grain very nicely, doesn't it? |
|
|
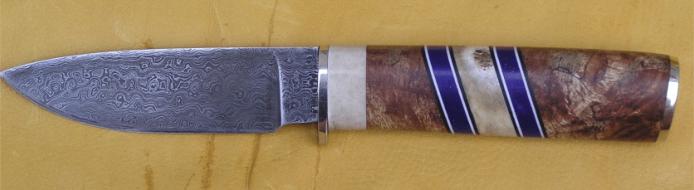
Here's a good example of the decorative use of fiber spacing material by knifemaker Bob Bair: here he uses a contrasting black and white fiber behind bone corian handles for some nice visual interest |
|
I wish I had taken a picture of it, but I saw a very nice looking blade at a show a while back that used stepped or terraced layers of fiber for the scales, giving it a very nice, high tech look. When I get some time to kill, I'd like to experiment with this technique and think it has some real potential. |
|
|
Seki-Cut's Gentleman's Hunter ( a gorgeous knife available from A G Russell ) shows a variation on this: a cocobolo onlay over titanium. No reason this stepped construction couldn't be duplicated with fiber. |
|
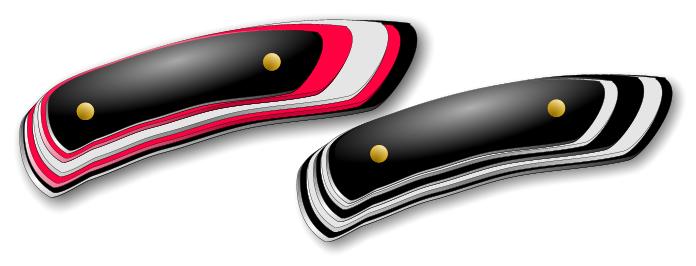
I am also tempted to try using fiber as an inlay ( kind of like marquetry with wood veneers) but haven't had a chance to try this yet. If anyone wants to try this and send me a picture, I'll post it here. In the interim, here's a touched up photo done on the computer to give you some ideas. |
|
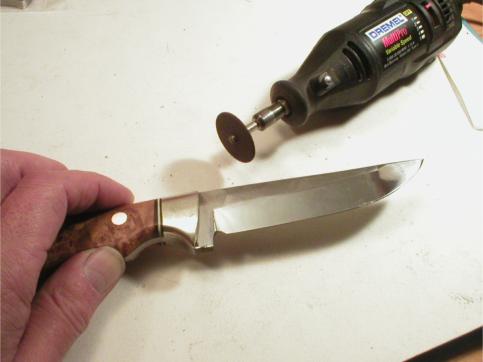
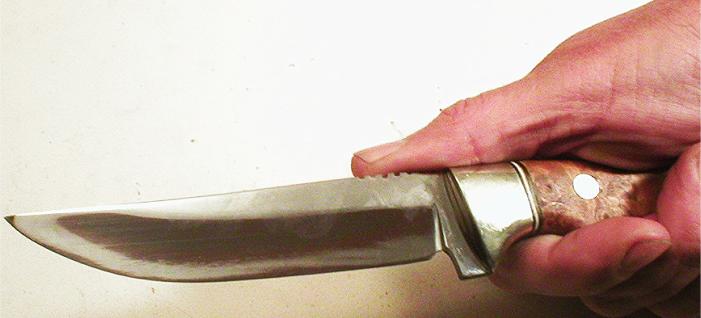
Non-Slip Thumb Grip Here's a very simple little technique to give your knife both some added utility, a little more visual interest and a truly custom look: a non-slip area on the spine of the blade for your thumb to grip. |
|

|
I have added notches on the spine of the blade in front of the bolsters for a long time now. Try gripping one of these, hold hour thumb tight to the notches and you'll see how it just "locks" into your hand for a terrific non-slip feel. This really gives a lot of additional utility and adds a great custom look. |
|
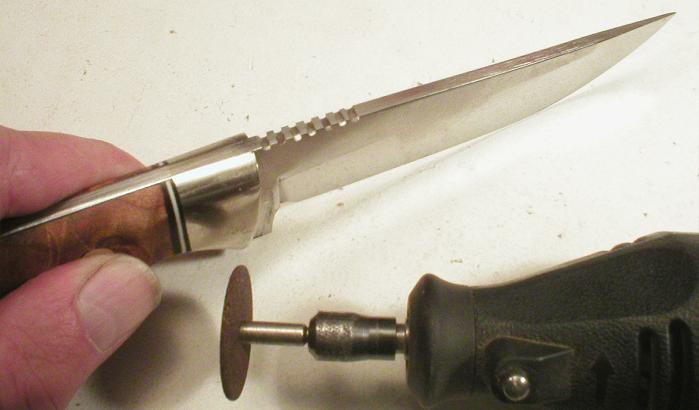
Simple to do with a fiberglass cutting disk in a Dremel Mototool. I free hand it, making sure the notches are an equal distance apart. If you're not comfortable freehanding this, use a fine tip magic marker to mark where you want to cut. |
|
This is what it should look like when you're done. Like I said, doesn't this add a nice custom visual touch? Not too many factory manufactured blades go to the trouble to give you this. |
|
|
Try it out? Doesn't that extra traction make it feel like this knife was just made to fit your hand? |
|
An Alternative Way to Mount Hidden Tang Blades To mount hidden tangs in a solid wood handle, I used to either drill a hole in the block ( good mostly for blades with a very narrow tang and too easy to drill a hole that is slightly off from 90 degrees), or split the block and route an appropriate size channel in both of the inside halves of the handle block ( messy and time consuming). Here's another method I have been experimenting with and results so far are encouraging. |
|
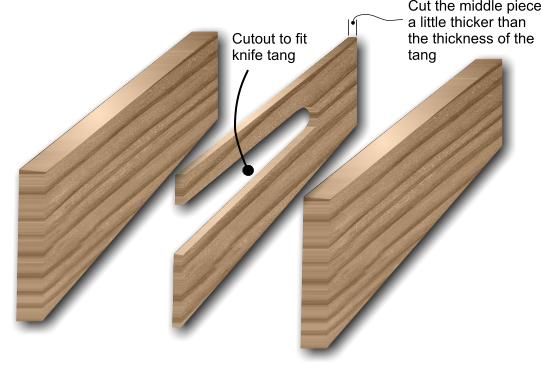 |
Basically, here's the idea. When you're splitting the block, cut one midsection piece the same thickness as the thickness of the blade tang. Space for the blade tang will be cut into this middle piece. (For this tutorial, I'm making a Puukko, but this will work with any hidden tang knife). |
 |
After cutting the pieces, before you start working on them, use a magic marker to put an orientation mark on one end. This will help you orient the pieces when you're ready to glue them together to make sure the grain and pattern matches |
 |
You'll also want to make sure the interior sides are perfectly flat so there won't be any gaps. A few minutes on the belt sander is time well spent. For vow, the center piece can be a trifle thick--we'll true it up later. |
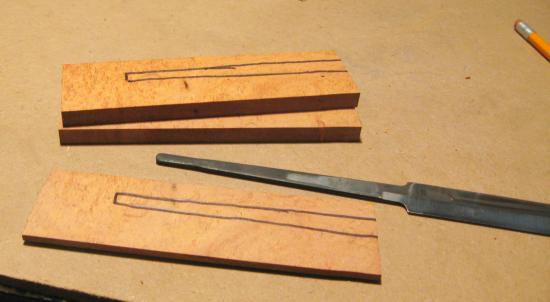 |
Use a magic marker to trace the tang on the center piece. While you're at it, do the same on one of the outside sides--you'll be able to use this for reference later after the tang disappears into the block when you do the final glue up. |
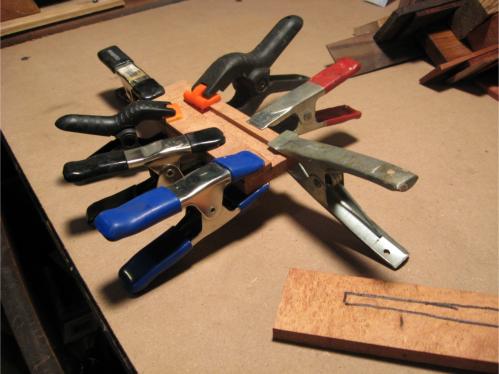 |
Glue the center piece to the inside of one of the block halves. I use a good, exterior grade carpenter's glue and a lot of clamps. |
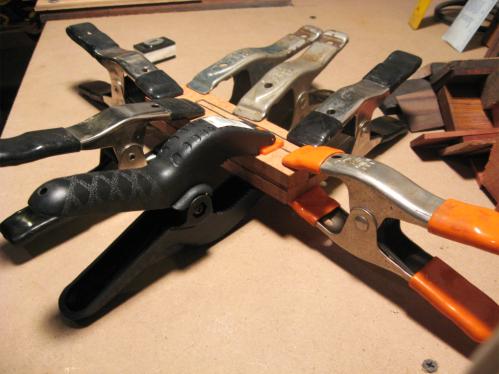 |
Do a trial fit to make sure the tang fits and if it does, go ahead and glue on the other outer half. Yes, I like clamps. It makes sure the parts are held together tightly so there won't be any visible seams |
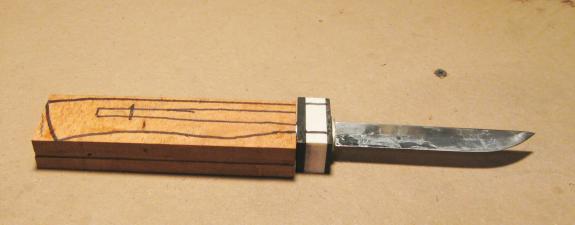 |
Doing a test fit to see how it looks. From here on out, it's done just like just like the construction in the Hidden Tang Tutorial or in the Puukko Tutorial . You can see why we drew the profile of the tang on the block--we still know now where we can cut. |
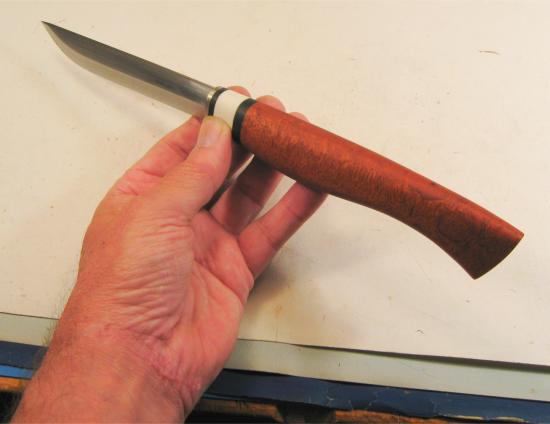 |
And here's what it looks like when it's done. The seam is pretty much invisible and it looks like one solid block |
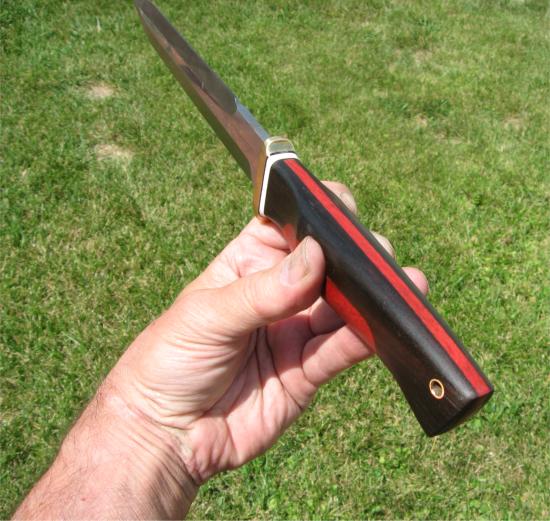 |
You might also consider using different woods for design contrast. This is a handle done with ebony and bloodwood. Pretty cool, huh? |
Hints and Tips Page [1] [2]
[3] [4]
[5] [6]
[7] [8]
[9] [10]
[11] [12]
[13] [14]
[15] [16]
[17]
Next
Got a good tip that you think your fellow knifemakers would like to know about? Drop me a note at pjp2@northcoastknives.com
