![]()
Tutorials:
Decorative Ulu Holder

Click on any of
the thumbnails below for a more detailed photo
| This
project is a small departure from the the other knife making tutorials on
this website, but it turned out nice enough that I though that I thought
other folks might like to see it. This technique is easily adapted to
other blade styles and makes a great gift idea. |
| |
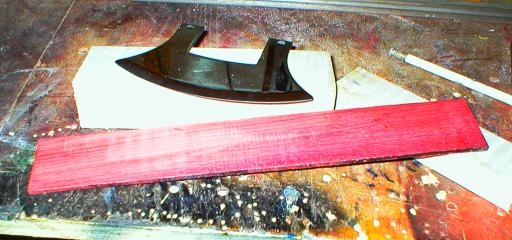 |
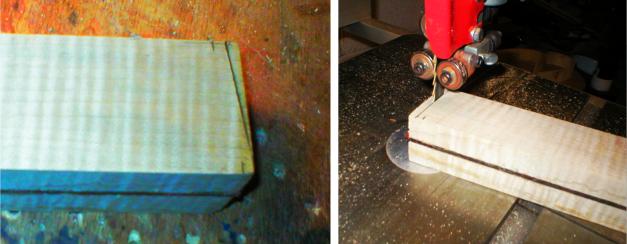
Start by choosing the woods you're going to use and cut to a useable, rough shape. I like the look of a good tiger maple with a bloodwood spacer for contrast. The spacer strip should be a hair thicker than the thickness of the Ulu blade. | |
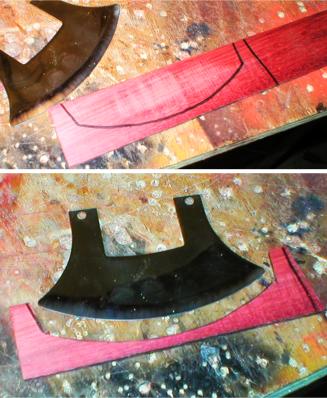 |
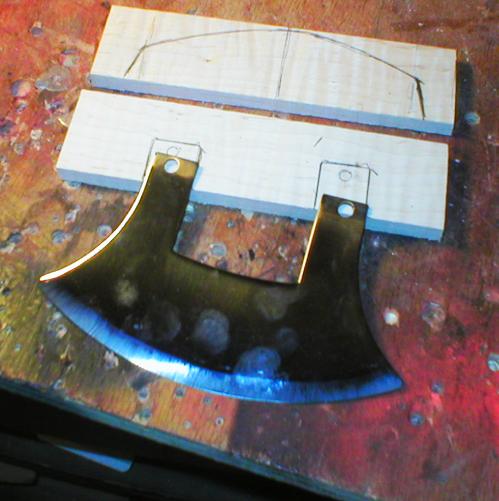
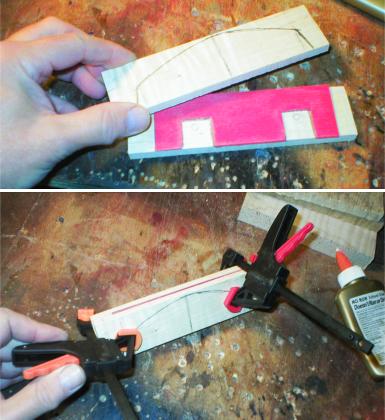
Trace the outline of the Ulu blade on the spacer strip and cut out. This will form the "pocket" that the blade will sit in. | |
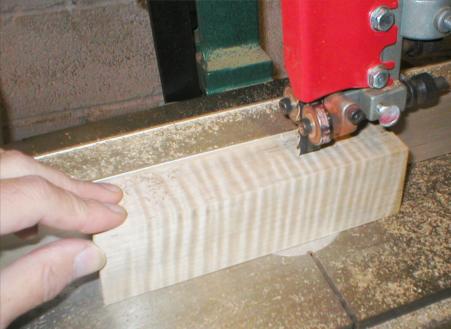 |
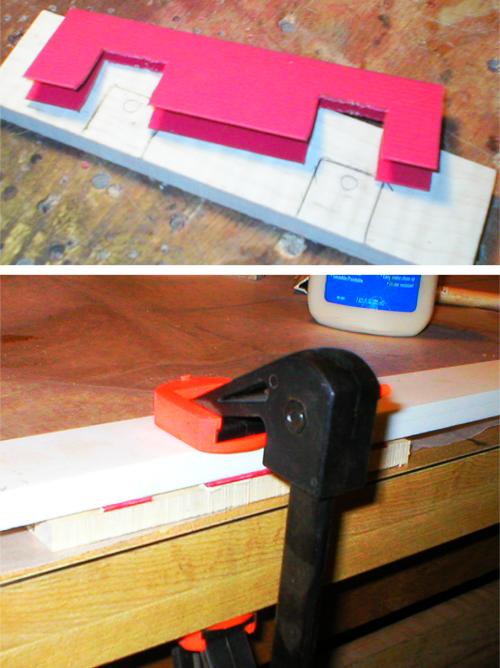
Split the block of wood to be used for the base on a bandsaw | |
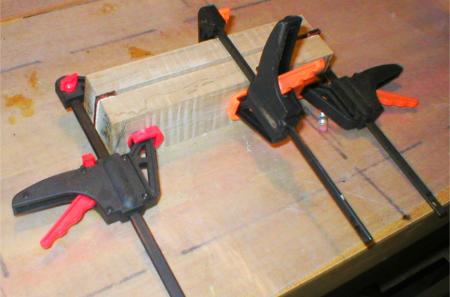 |
I use a good exterior grade carpenters glue to glue the center spacer strip between the two halves of the block that you just split. Clamp and let dry. | |
 |
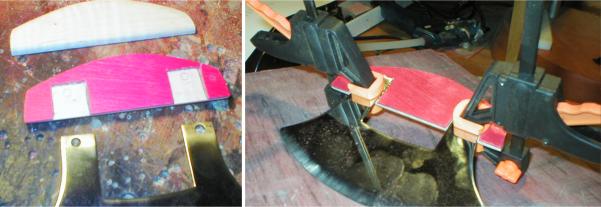
While the block is still flat and rectangular, mark the angle cuts for the beveled ends and cut. | |
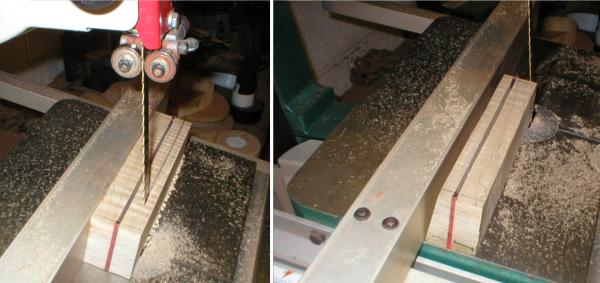 |
To do the beveled cuts on the long sides of the holder block, I eyeball the angle as I tilt the table of the bandsaw. Pass it through, flip it and cut the other side | |
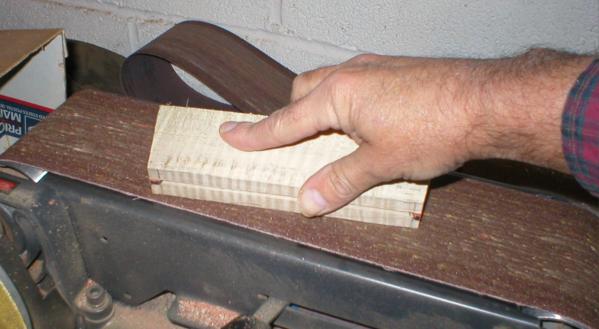 |
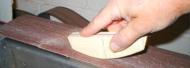
A few minutes on the belt sander will clean up the marls left by the bandsaw blade. Put this off to the side for now. | |
 |
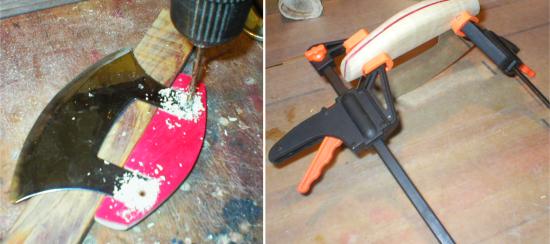
Take the two halves of the block that you are going to use for the handle and mark the areas that will need to be recessed to accommodate the tangs of the Ulu blade | |
 |
I use two layers of fiber spacer material for the spacer on the handle and cut the slots that the tangs will fit into. | |
 |
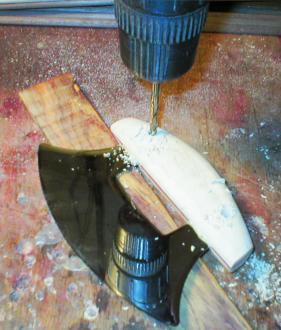
The two halves will need to be temporarily glues together for the initial shaping since this will be accomplished much more easily now than after the blade itself is attached. I use two small drops of a water soluble white school glue. Clamp and let dry. | |
 |
I use the belt sander to do the initial shaping, following up with a few minutes of hand sanding to get the contours to the point where it's comfortable to hold. | |
 |
Split the block apart and epoxy the blade tangs to the half of the block that has the recesses cut into it. Clamp and let it cure. | |
 |
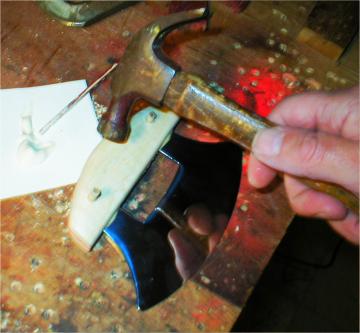
I use a 3/16" drill to make the pin holes in the half of the handle where the blade is attached. Use your exterior grade waterproof carpenters glue again to glue the two halves of the handle back together and clamp overnight. | |
 |
After the glue has cured, remove the clamps and use the 3/16" drill again to drill through the entire handle from the side that was first made. | |
 |
Tap in two 3/16: dowels to act as pins on the handle after using a toothpick to apply a drop of glue inside the hole. | |
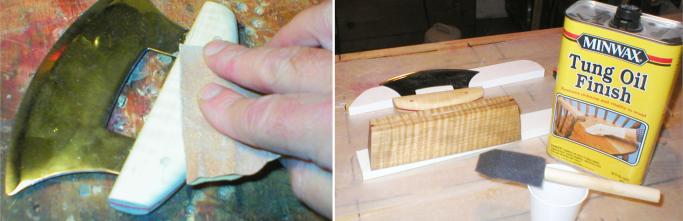 |
After the glue dries, cut the pins flush and use sandpaper to smooth these . I like using tung oil and now apply a few coats, sanding with a 400 grit sandpaper in between. Tung oil seems to make the grain really pop out. | |
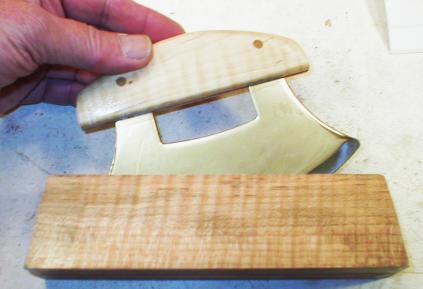 |
And here's what it should look like when complete. | |